DIY Wall Molding
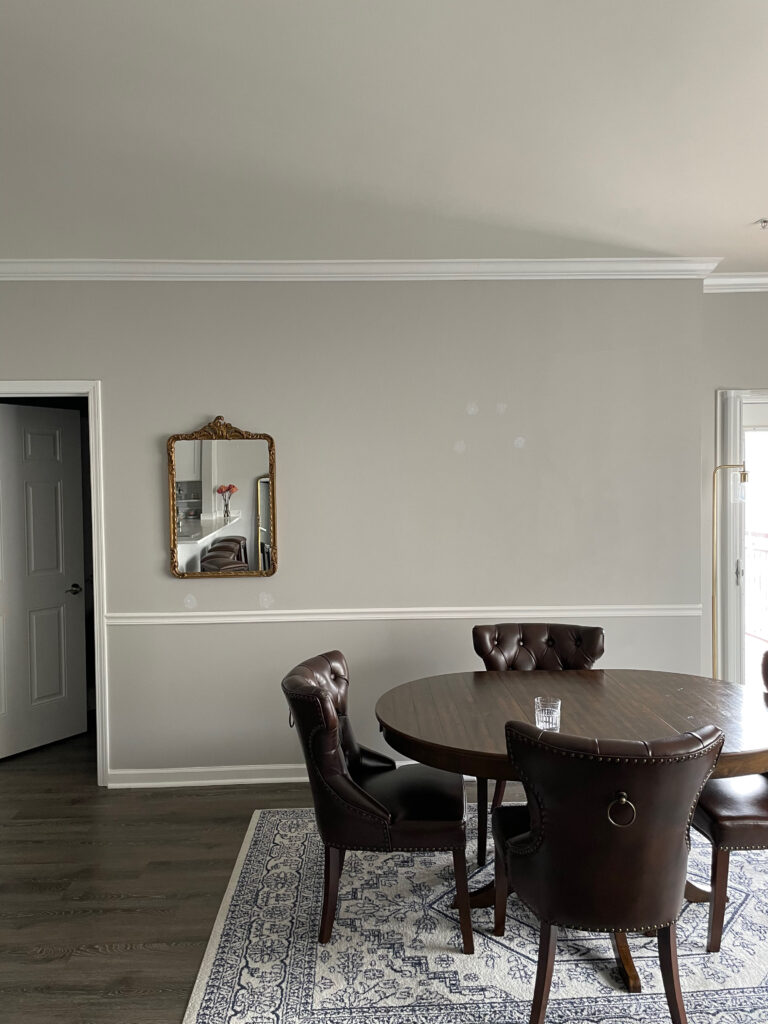
On my journey to turning our condo into a Parisian apartment, wall molding was the natural next step. We had crown molding installed when we first moved in (which I could not recommend more! It draws your eyes up and makes the walls appear taller and more polished), but debated on whether adding additional wall molding was worth the work. Spoiler – it’s so worth the work and is actually a fairly easy, straightforward project.
Below are some steps and tips that helped me along the way.
You’ll need:
- Wall trim – we purchased ours at the Home Depot and went with a pine trim that was 1.5 inches wide. We also included a pine chair rail that was 2.5 inches wide. I used both primed and unprimed pine based on availability. With the unprimed pine, I did add a primer before painting, but you can probably get away with just using a good quality paint+primer.
- Miter box & saw or a table saw
- Liquid nails, mounting tape, nail gun with finishing nails – if you are renting or do not want to nail into the wall, you can use removable mounting tape. Shelby at Pretty in the Pines used removable mounting tape and shared a video of the removal and some brands she recommends. She also shared a great tutorial on installing the wall molding linked here. I went with a combo of mounting tape and finishing nails to ensure the trim was extra secure. I’ve also seen people opt for just finishing nails or a combo of liquid nails and finishing nails – it’s really personal preference.
- Paintable caulk
- Level
- Tape measure
- Blue painters tape – this is optional, but I found it super helpful for mapping out how my boxes would be spaced.
- Spacer – I made a spacer with some cardboard to guide me when installing the molding. My spacer was 5 inches X 5 inches. It was a helpful tool to ensure I was following the measurements I planned out.
Steps + Tips:
Map everything out on a piece of paper prior to purchasing your trim. I took the measurements of my wall and added in a 5 inch space between every box, the chair rail, the floor and the ceiling.
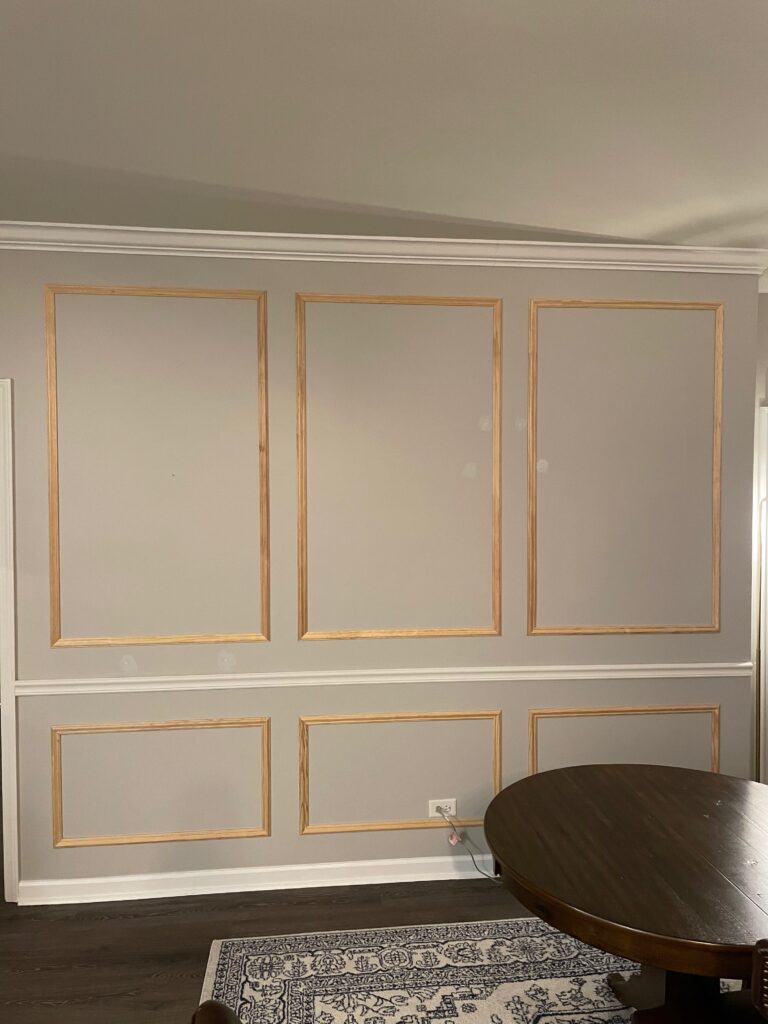
The project itself is pretty straightforward – map out your design, cut your trim to size with a 45 degree angle on each end, secure to the wall, caulk + paint. I recommend using a long level to ensure everything is perfectly straight before securing to the wall.
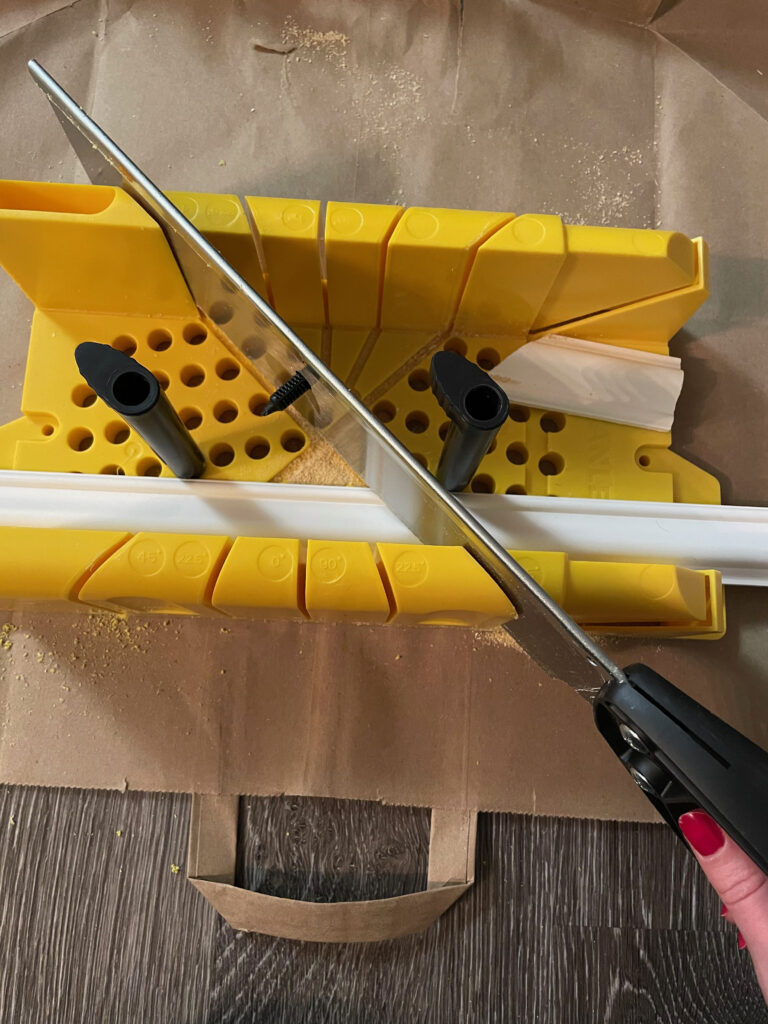
I bought this miter box at Home Depot for only $15. It was super easy to make the cuts. The more decorative side of the trim should face inwards.
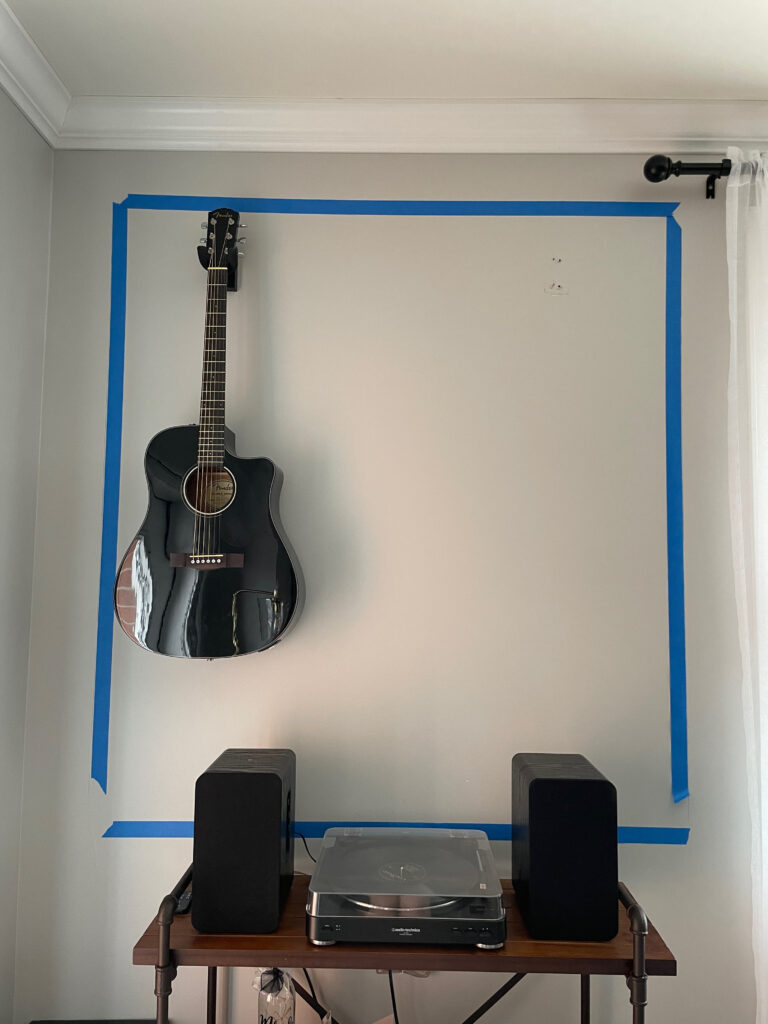
I used painters tape to map out my boxes to make sure my measurements were right before cutting the trim.
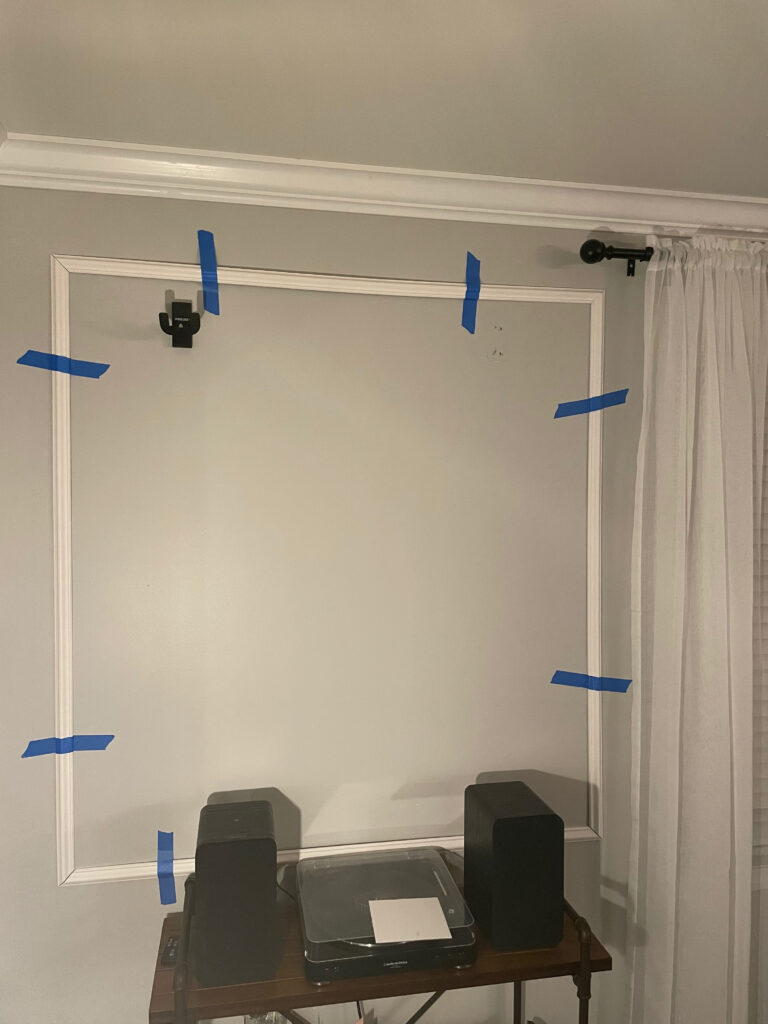
After cutting the trim, I taped up the boxes to ensure everything lined up properly and then attached to the wall using this mounting tape and a nail gun with finishing nails.
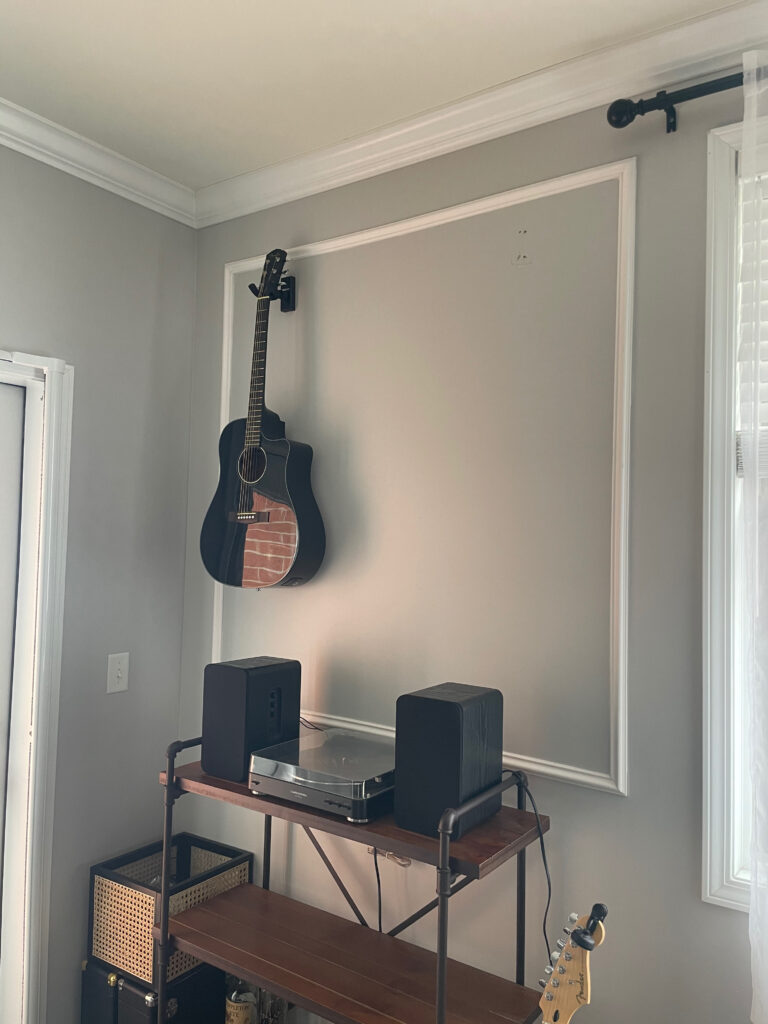
After securing the trim to the wall, I caulked in the nail holes and each side of the trim to ensure it was flush to the wall.
The final step was to paint the trim. If the trim was already primed, I went straight to painting. For any trim that was purchased unprimed, I added a quick coat of primer before painting.
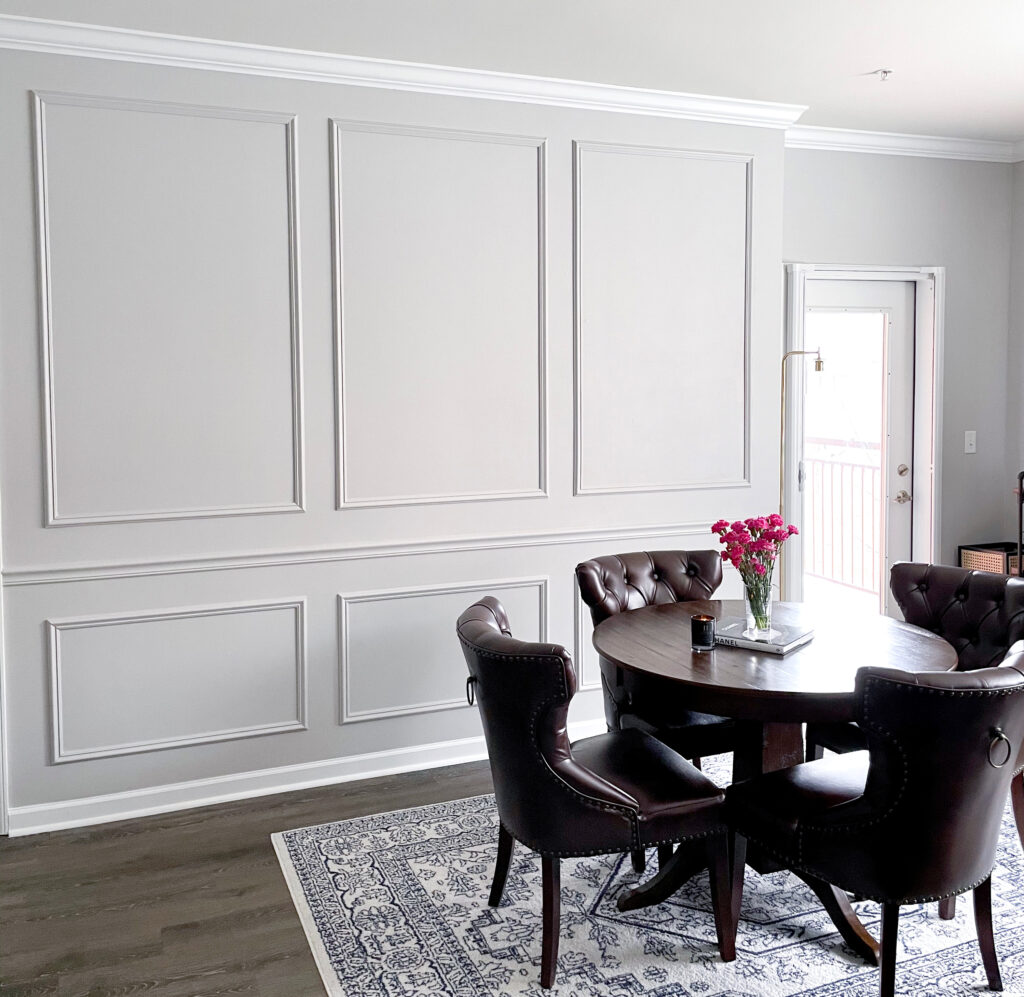
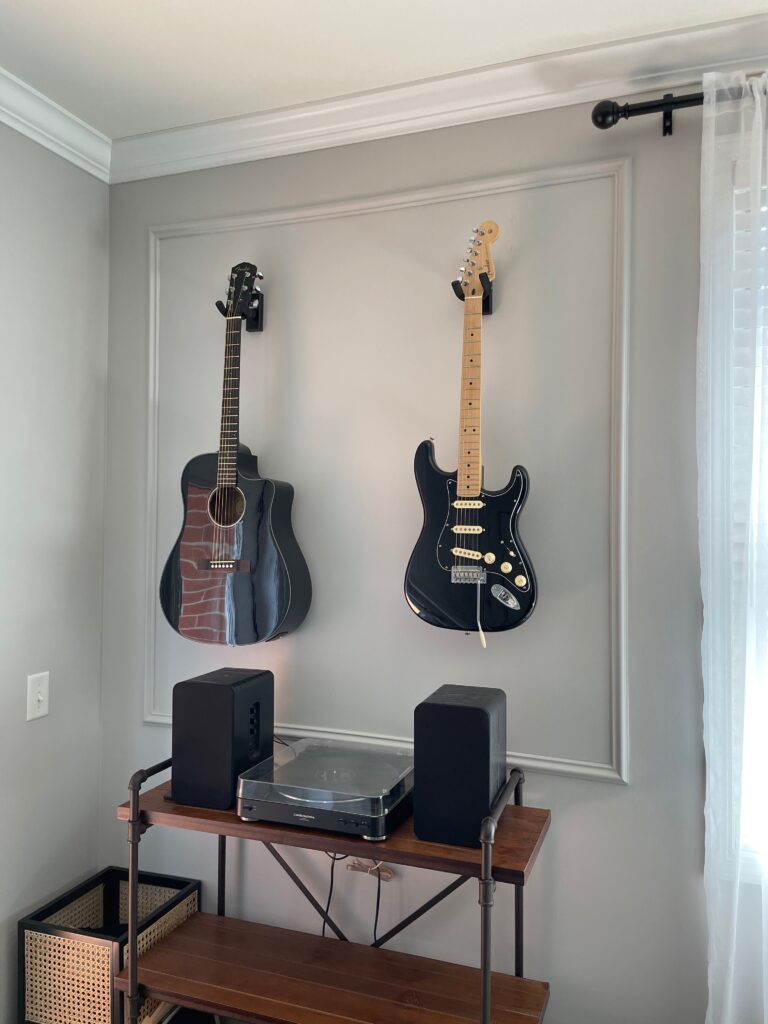
Here are more before + after pictures from the larger wall that we added molding to. I love how it dresses up the wall and makes it look more finished and elegant.
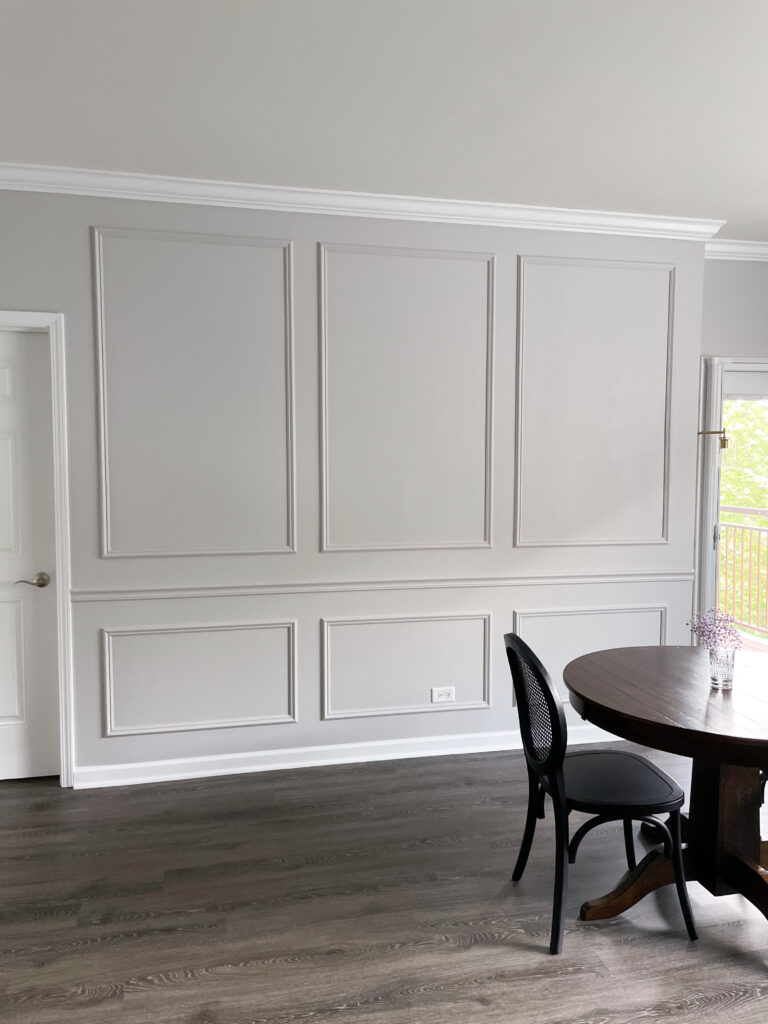
Overall, I would say it was an easy project that I would definitely feel confident doing again. I hope this helps if you decide to tackle adding wall molding to your space!